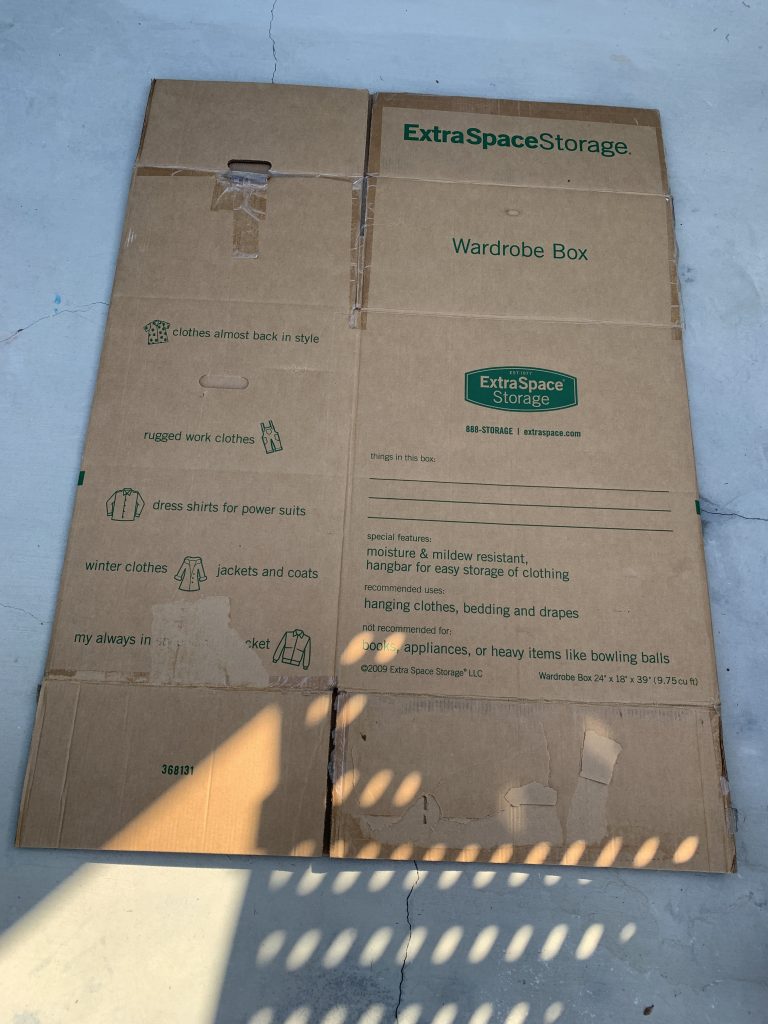
I had the opportunity to be given three large dresser and two square moving boxes by a neighbor. I had a few projects that I wanted to have done with boxes and my husband helped me nail down this current project which is three houses interconnected by a passage so the kids can cross the houses through it. He set the challenge and I took it! Below I will first go over how to make a house, the different roofs, then how to make the interconnection. I used a cutting box knife and always had a large piece of cardboard under the part that I was cutting. I did not undo the box all of the way because I did not want to put it together afterwards…
DOORS
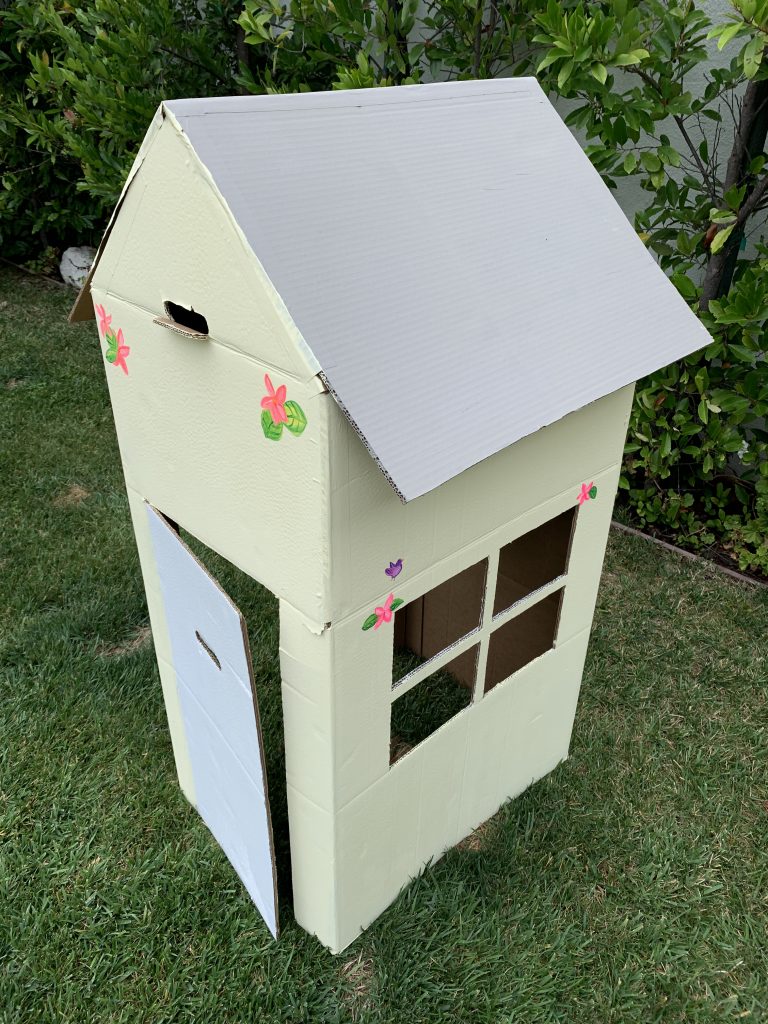
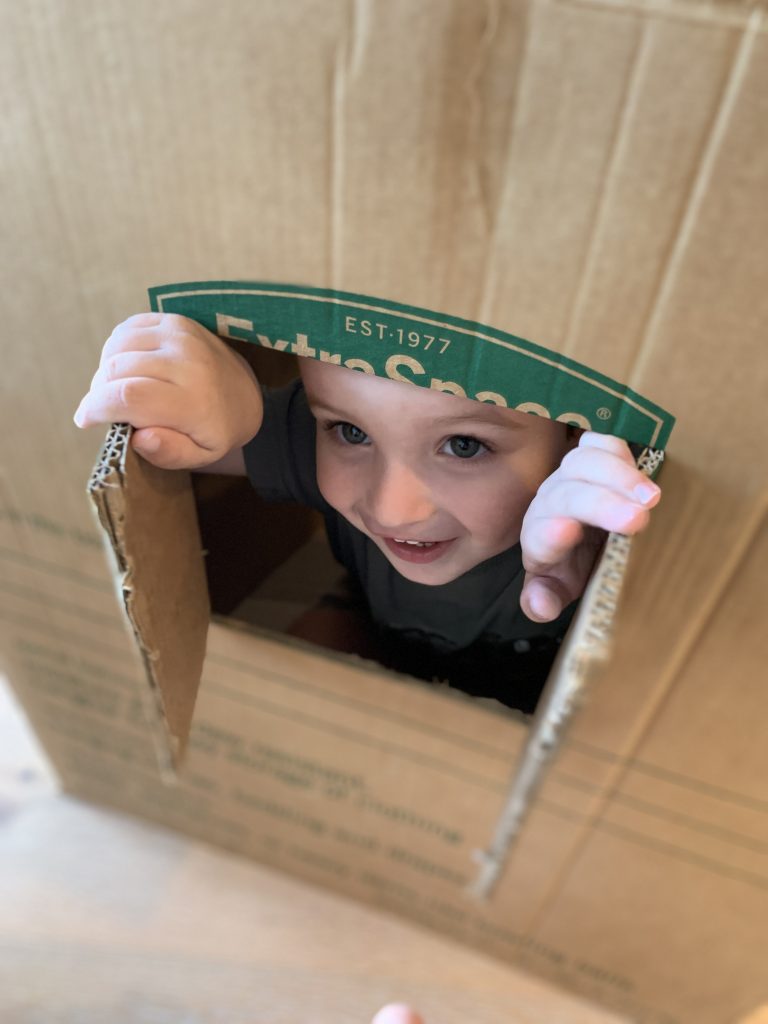
I have made two types of doors for these houses, a rectangle shaped door and a curved top door to the small side of the box. For both of the doors I didn’t have a set way to measure them, I just wanted to make sure my son was going to be able to get in by lowering his torso a little and that his body was going to fit in through it. I also wanted to make sure I would leave the same space on both sides to the end of the remaining wall on top and on both sides.
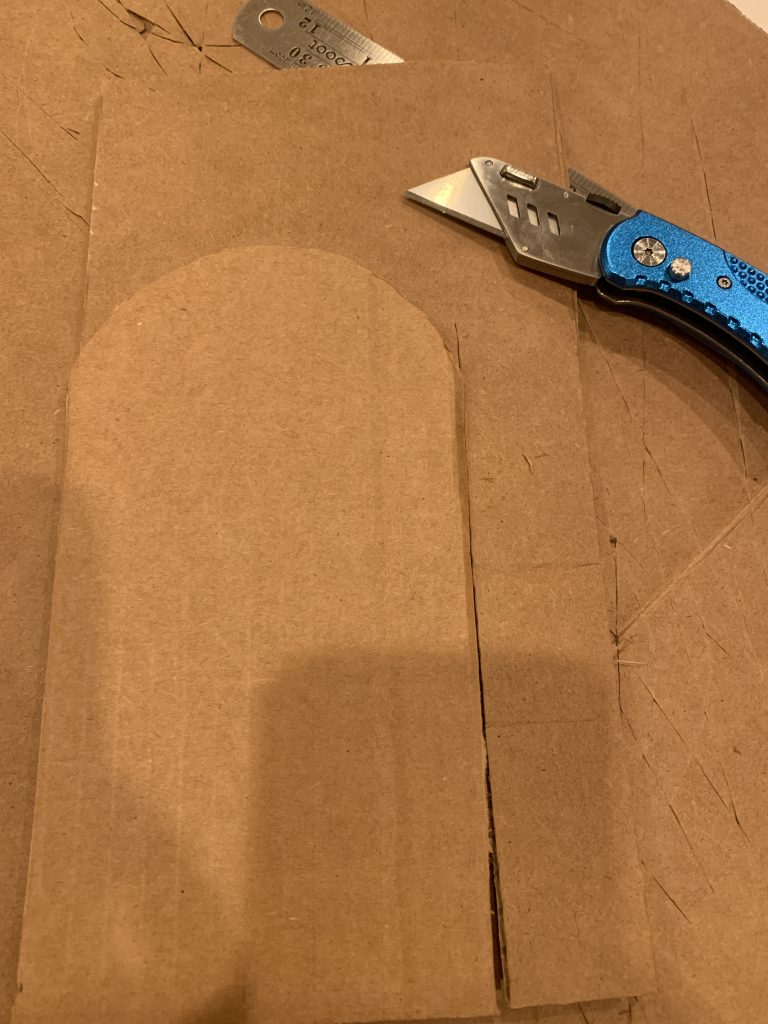
The square door is easier and all you will need is a ruler to measure it all around. Only cut the top and the side of the door that will be opened. Open the door slowly and delicately to make the cardboard bend. I made a superficial cut on back through a line made where the opening door bends over. The round door you will need to utilize an object that has somewhat the measurement that you are looking for or a compass. I used a large salad bowl that had its diameter about the same measure of the square door I made.
WINDOWS
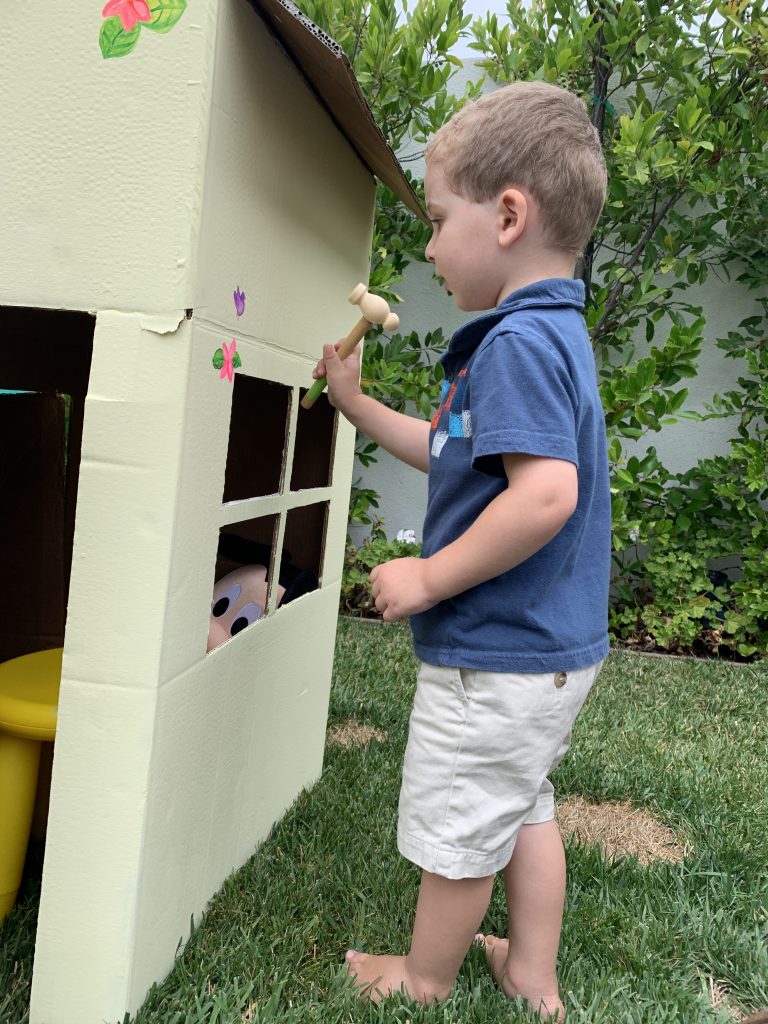
I made two types of windows, the kind that opens up folding out and a window that has four permanent openings. The easiest window is one that opens up. I did not have a set measurement and also would not list it because each box has its own measurements. I based the size of my window on the size of the door. I made the window smaller than the door but not by much. I placed the window slightly lower than the door. I made the opening of the window in the middle of the side of the cardboard. I drew with pencil an “I” and cut it through. Open the window slowly and delicately to make the cardboard bend. I made a superficial cut on back through a line made where the opening door bends over.
Opened window
For this window I had to do a lot more measurements. I made four rectangles spaced out by a cross that measured one inch.

BOTTOM OF THE HOUSE
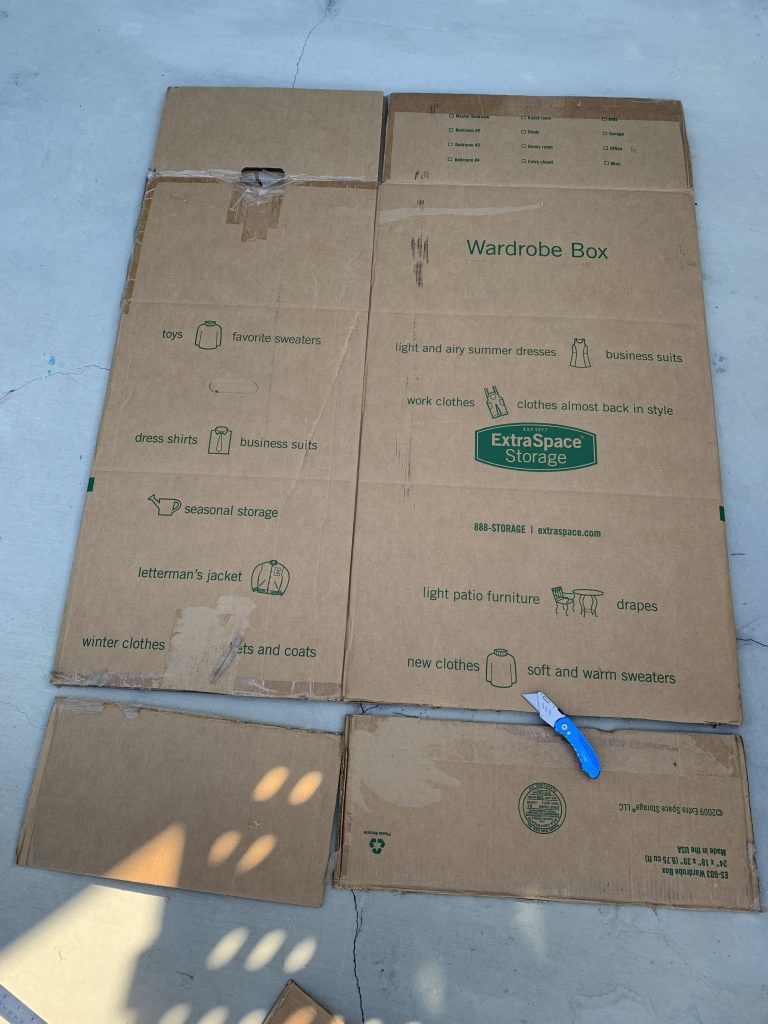
Cut all the sides of the bottom of the box (as shown in the picture.)
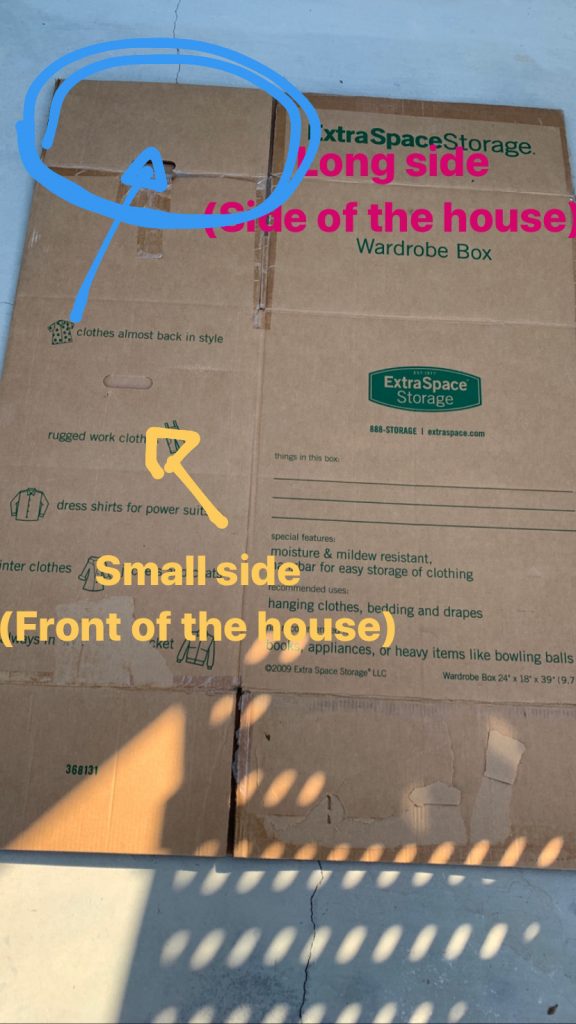
ROOF
1 – On the top of the box (that folds to close) the small side, shown in the picture by the blue circle, find the center of it on top and draw two lines down to the extremities of the this part making a triangle shape.
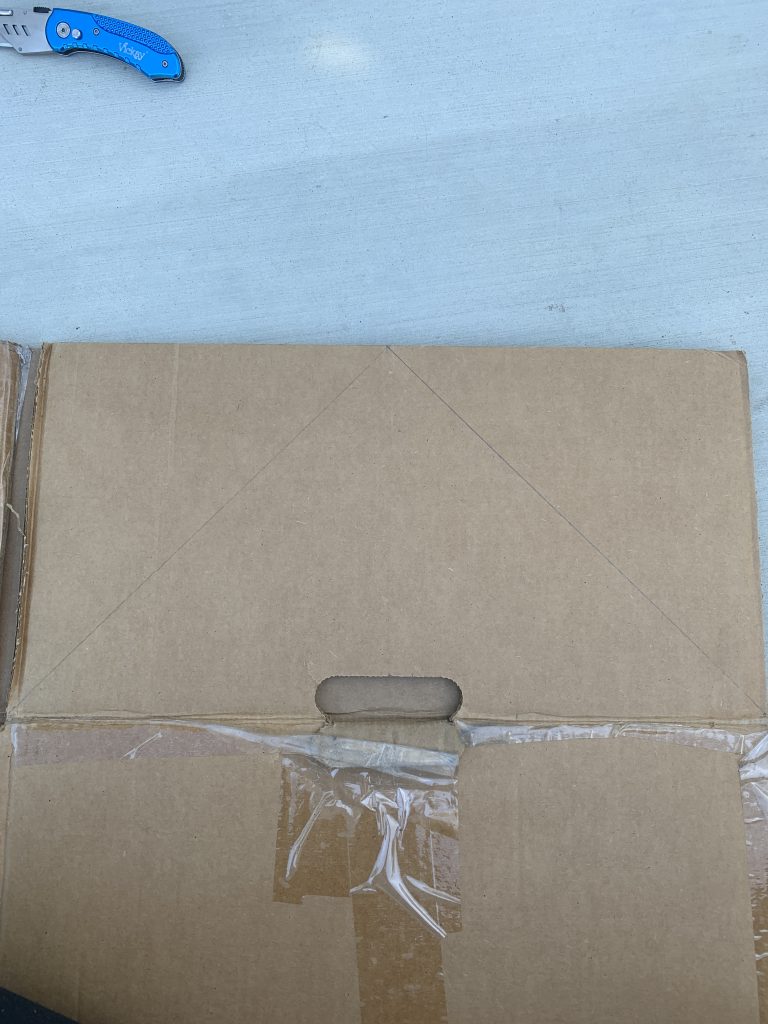
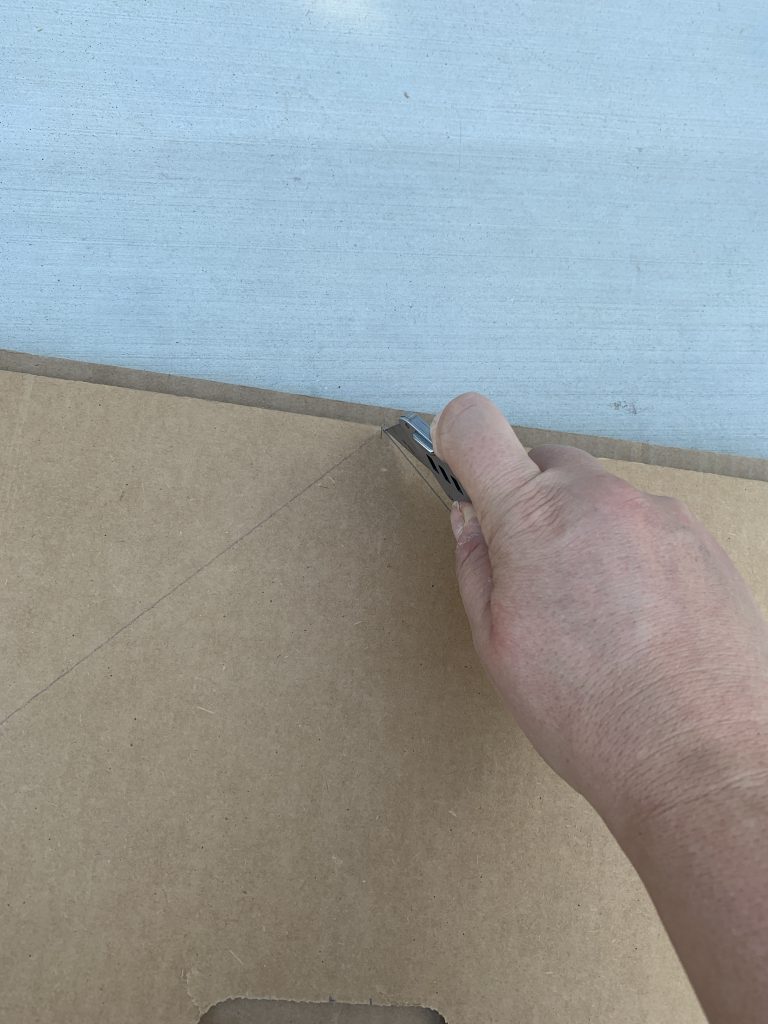
Repeat this step to the other top of the box of the small side. This will shape the roof.
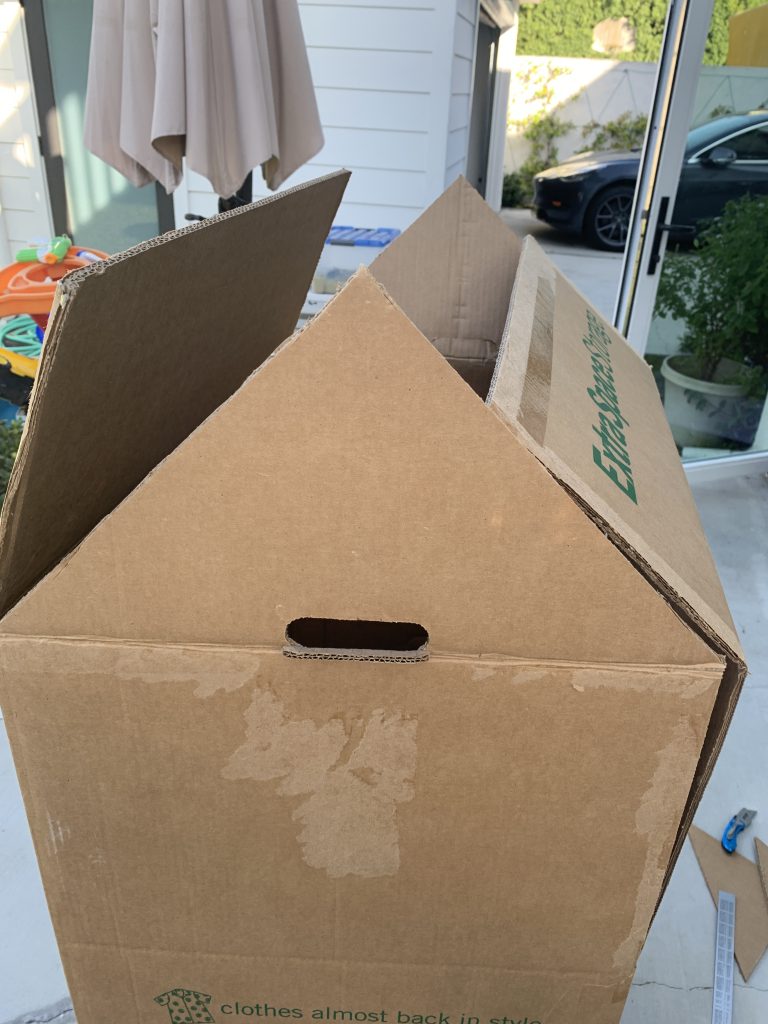
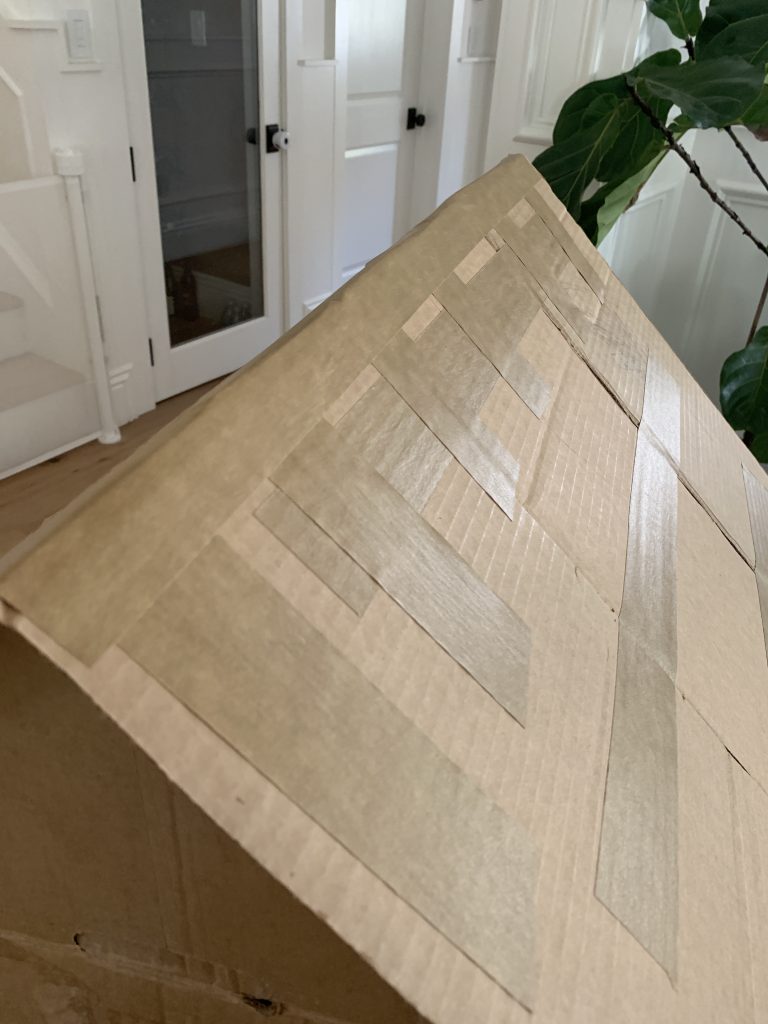
2 – The next two steps is helpful to be completed with a help from another person. Lift the tops the small sides of the box (the side that was cut into a triangle shape), lay over the larger sides the top of the box and tape it down with a cardboard tape. The card board tape keeps it in place and can be painted over.
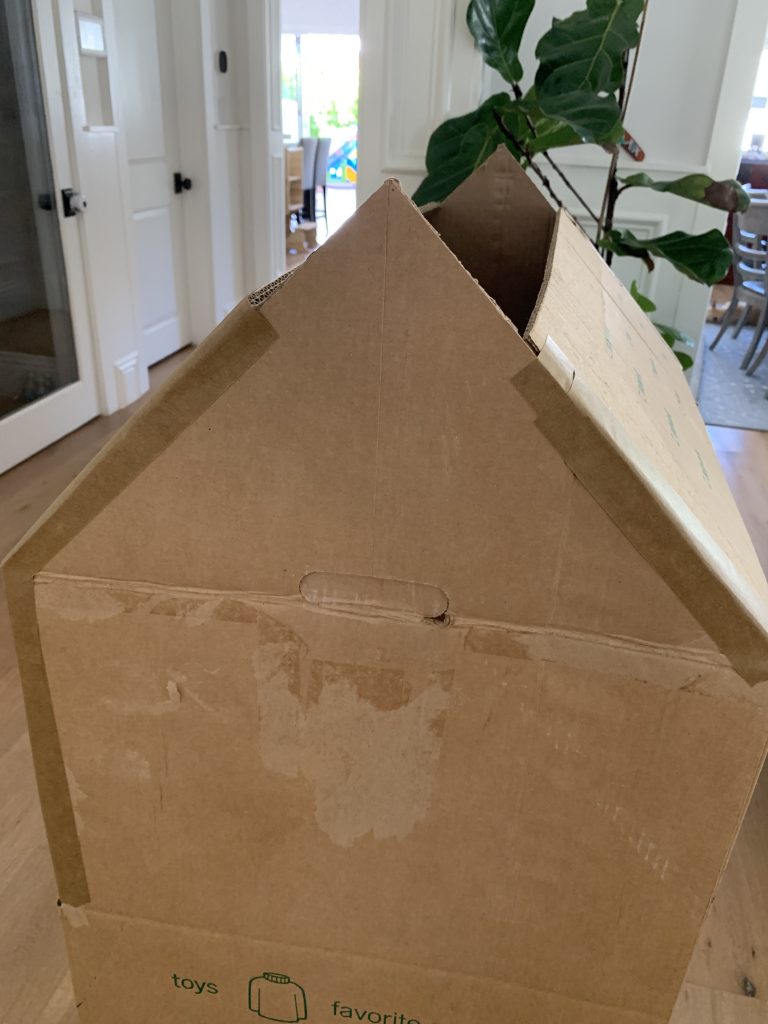
3 – Align the pieces of cardboard that were cup up and tie them together with the cardboard tape. Place both sides on top of the house and set them in place with the tape.
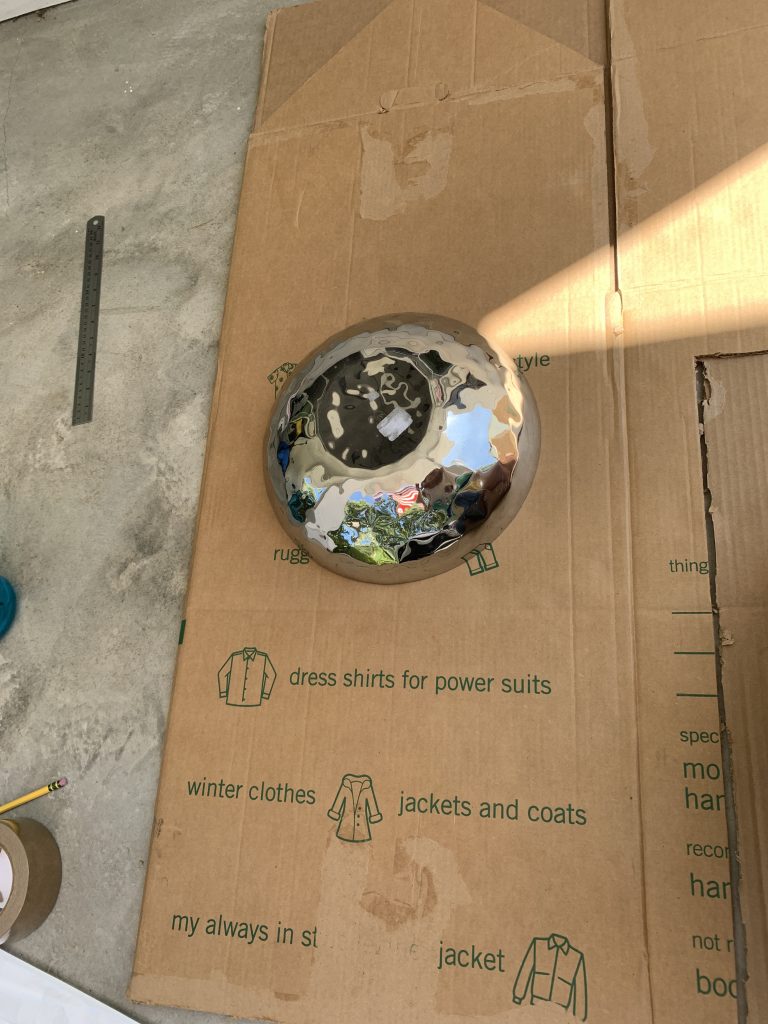
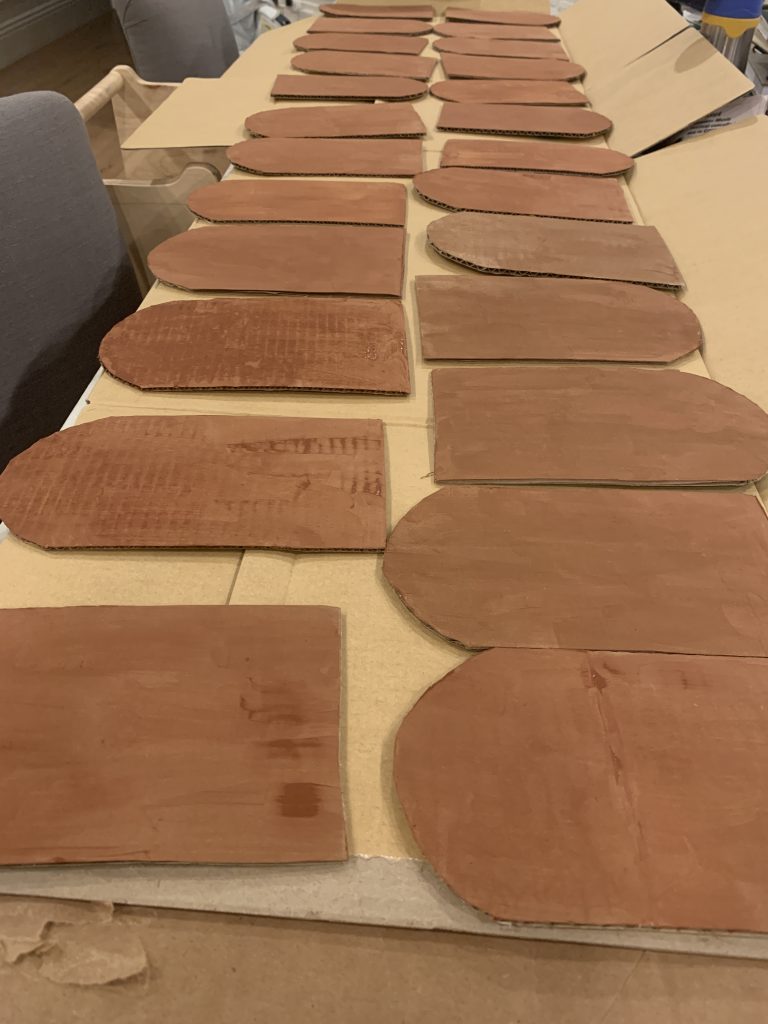
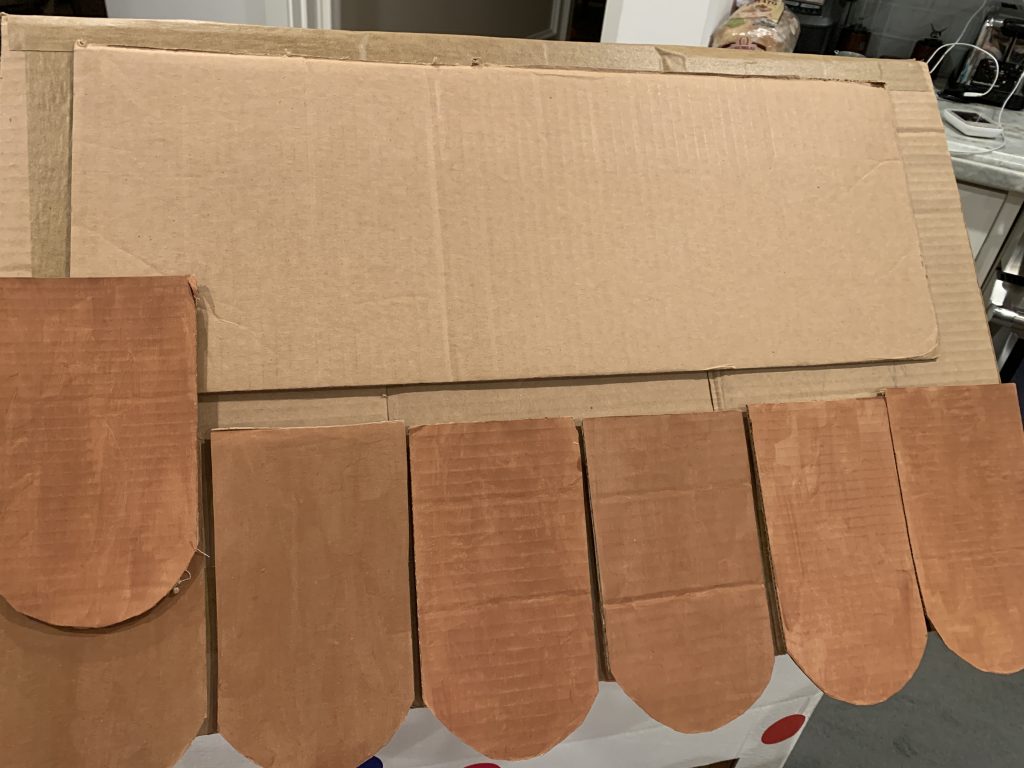
The roof tiles were made out of different cardboard boxes that I had been saving for it. I utilized a round bowl to make the bottom of it then made the sides about 6.5 inches (15cm) then painted over with brown paint. I roughly measured the side of the roof with the tiles to come up with the right number of tiles I would need to make. I utilized a hot glue gun to settle them over the roof. Gluing the tiles requires you to be fast because the glue dries fast. Having tiles on the roof is definitely more work but it makes the house look a lot nicer!
PAINTING THE HOUSE
I would highly recommend investing in a rolling painter’s brush to speed up the process. You can use the regular paint that the children use to make art projects, the rest of the paint used in your house if you have set aside, or buy a small tester paint at a painting store. I have used both and the paint for houses are easier to be applied when using the roller. The nice part of painting cardboard is that it dries quickly.
EXTRAS
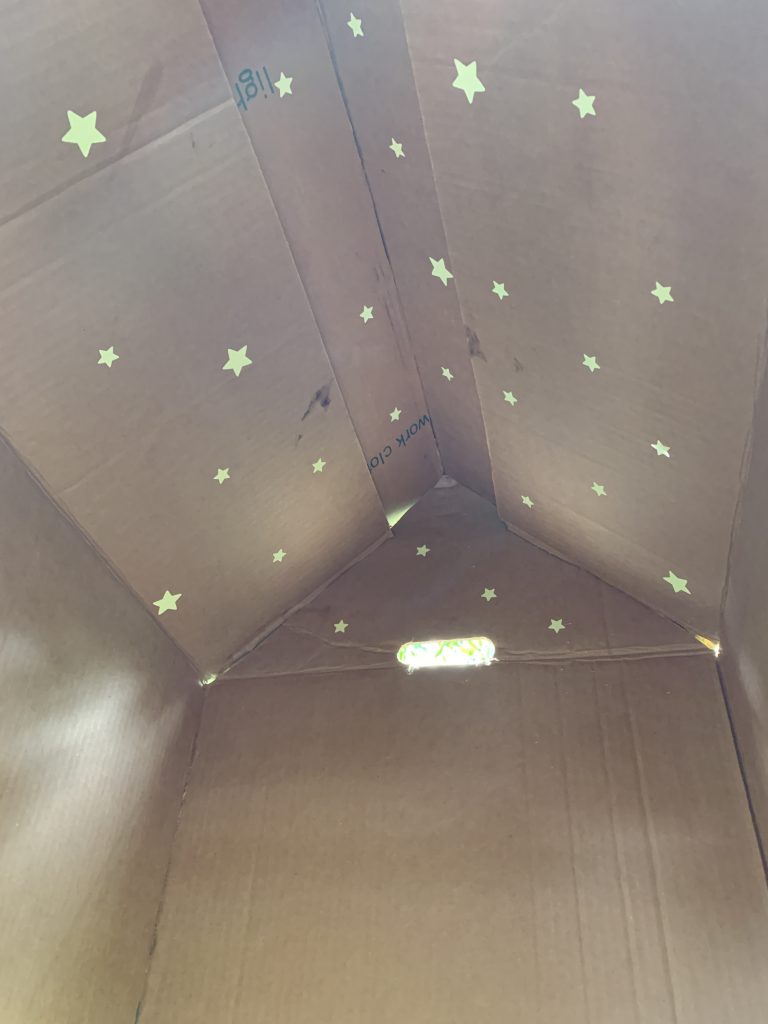
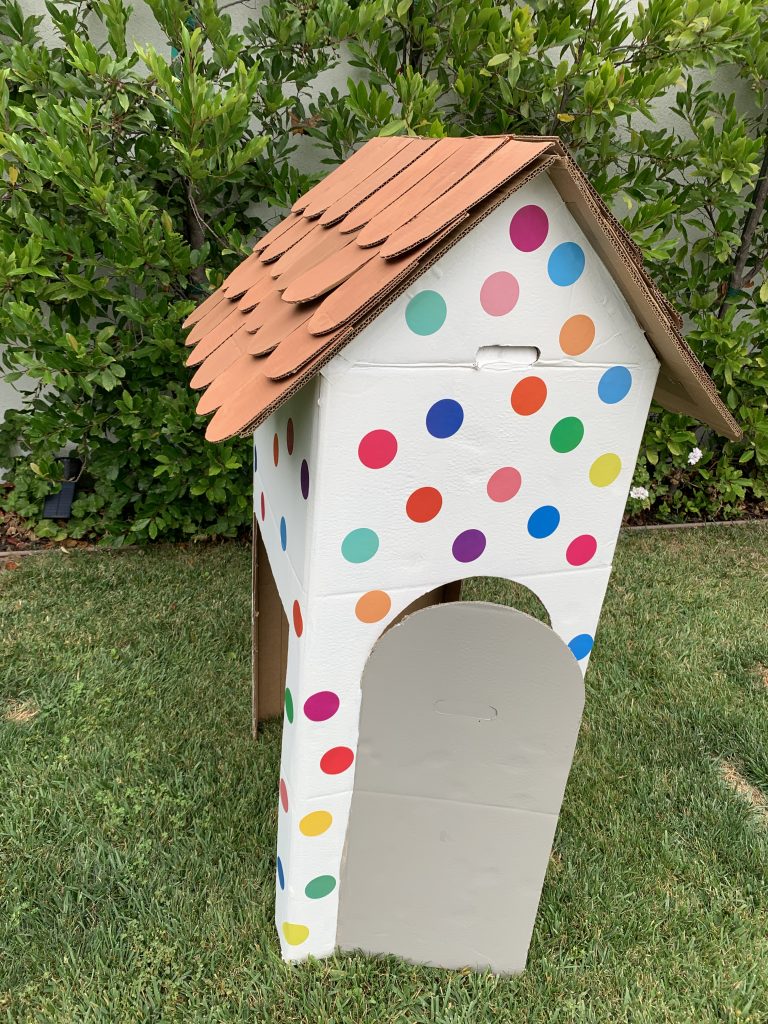
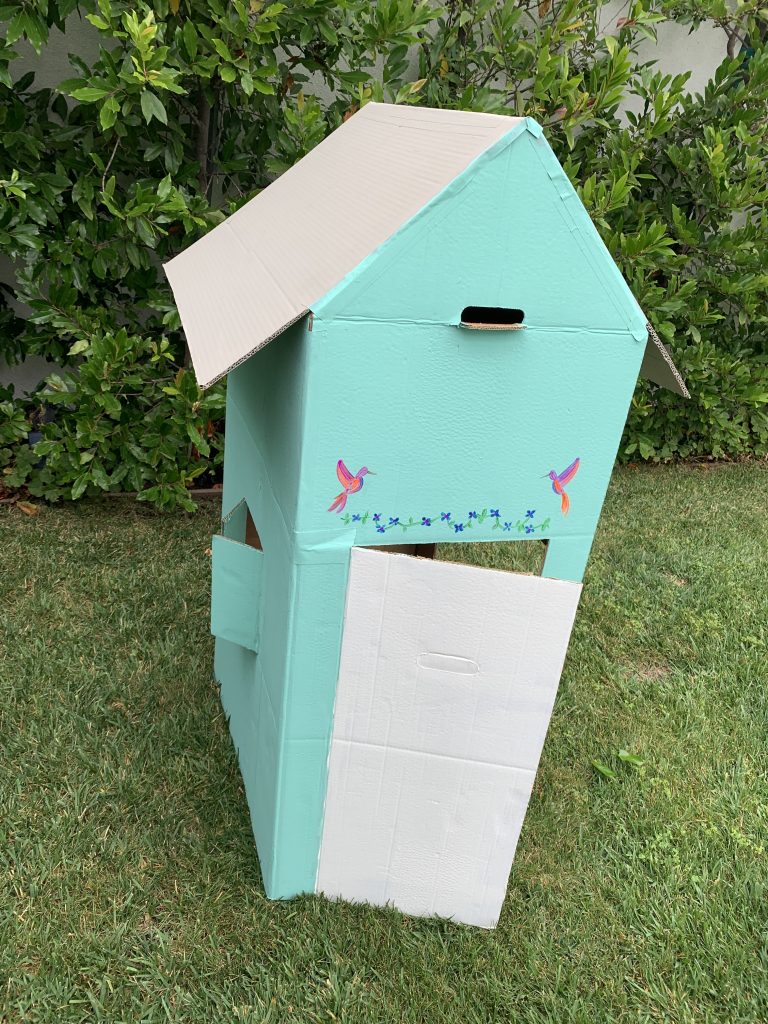
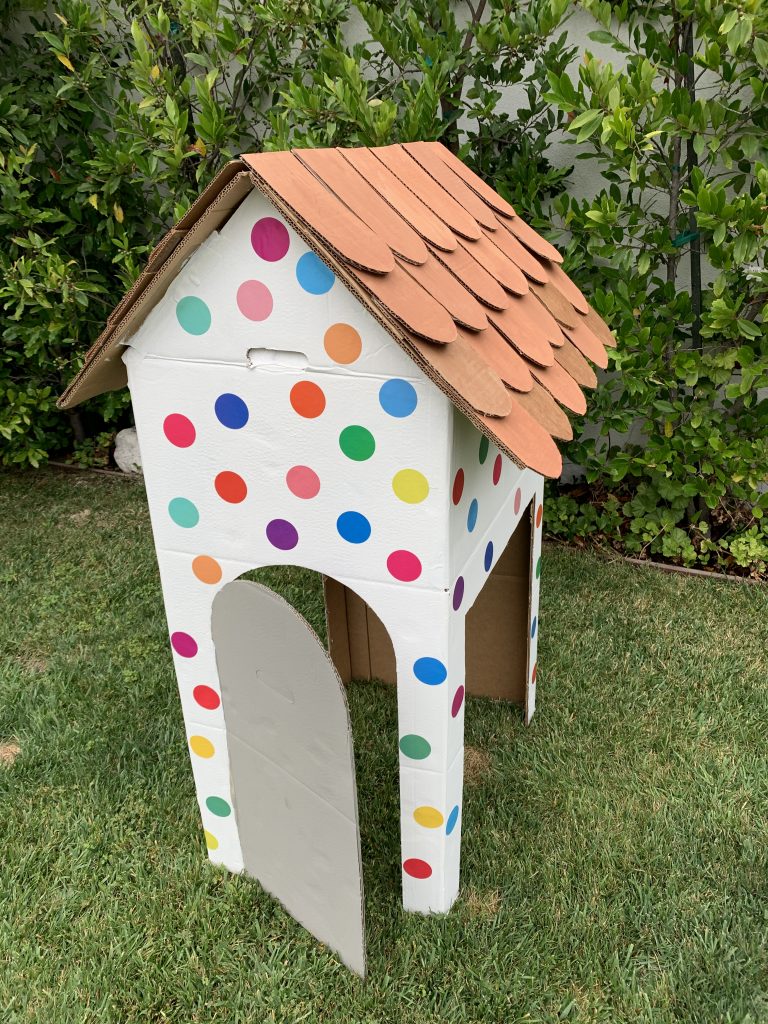
A dear friend painted flowers and hummingbirds to the side of the house to give it a special touch to them. I added colorful circular stickers to the white house, and also glow in the dark stickers in the shape of the stars to the roof on the inside of the house.
This is a fun project that can have several details to it or be as simple as only having a door, no windows and no paint at all. The children absolutely loved playing in their house!
I made openings on the sides of the houses with the size of the boxes that I had so the houses could be interconnected.